
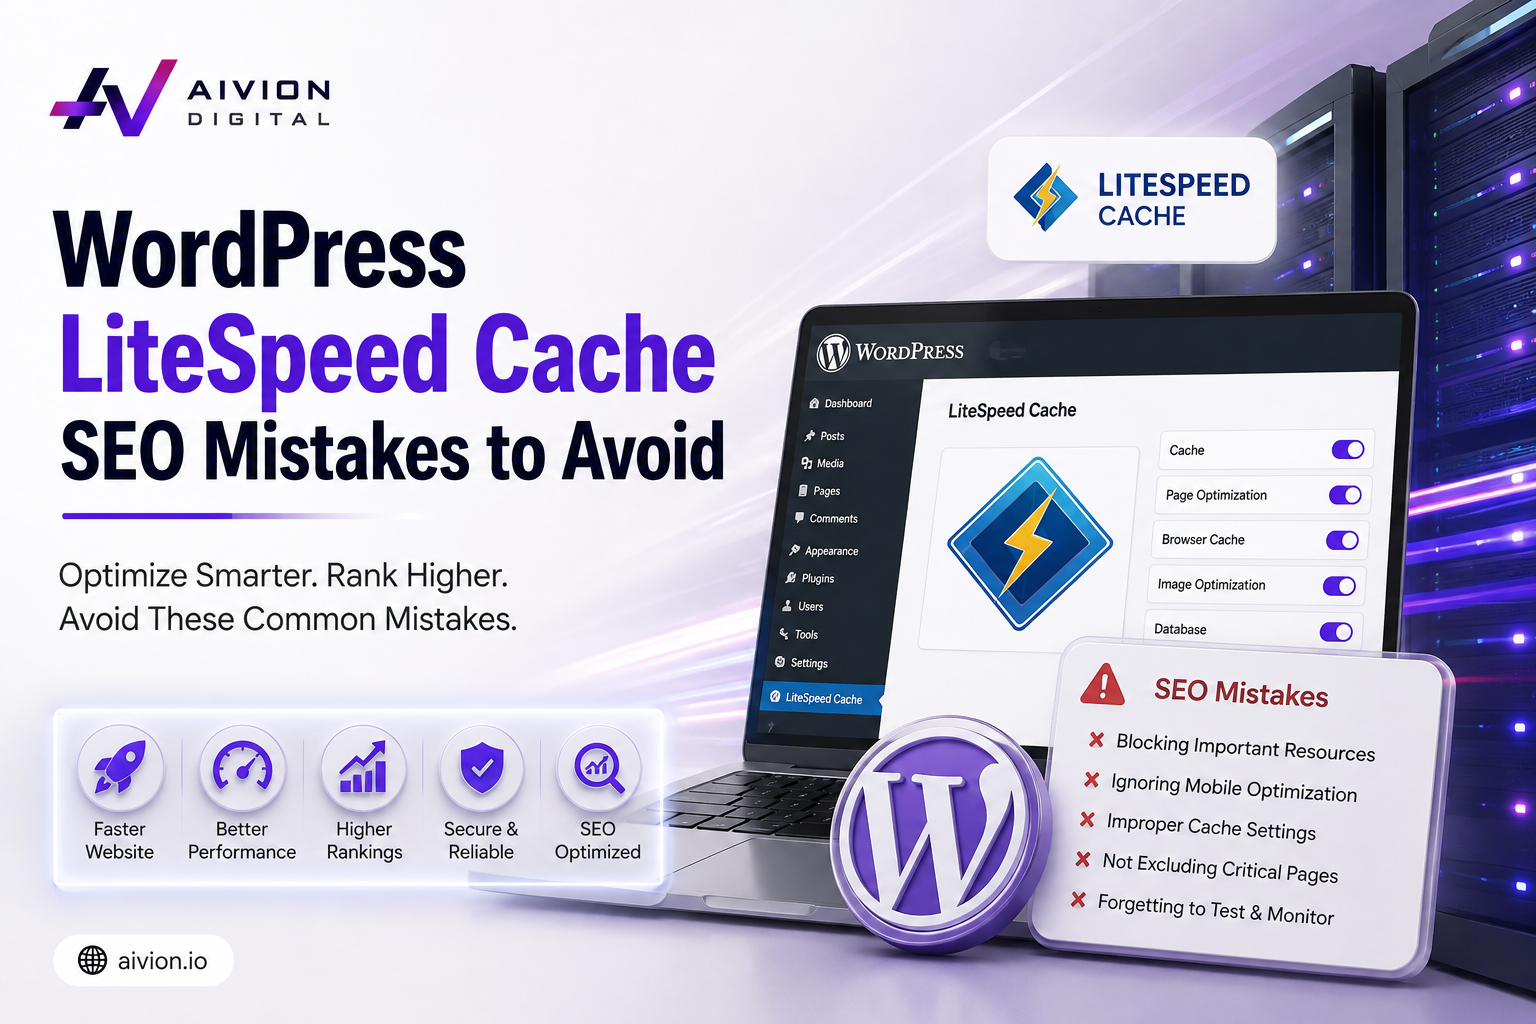
WordPress + LiteSpeed Cache Configuration for SEO:
LiteSpeed Cache is one of the best caching plugins for WordPress. It makes your site fast. Speed is good for SEO. But wrong settings can hurt your rankings instead of helping them.
Many site owners install the plugin, turn on a few switches, and forget about it. This is where the problems start. Below are the most common mistakes and how to fix them.
If you want a full check of how these issues affect your site, our SEO agency in Malaysia can run a complete audit and fix them for you.
Mistake 1: Caching Pages for Logged-In Users
By default, LiteSpeed Cache should skip logged-in users and only cache pages for guests. If this setting is wrong, Google can end up crawling a cached version of your site that still shows the admin bar or admin-only content.
Fix: Go to LiteSpeed Cache settings and check that “Cache Logged-in Users” is turned off, unless you have a real reason to keep it on. Always test your site in an incognito browser window. This shows you what Google actually sees.
Mistake 2: Not Purging Cache After Content Updates
You update a blog post. You fix a meta description. You change a price. But if the cache is not purged, Google and your visitors still see the old version for hours or days.
Fix: Set up auto-purge rules. LiteSpeed Cache has an option to purge the cache automatically when a post is updated, published, or a comment is added. Turn this on. Do not rely only on manual purging.
Mistake 3: TTL (Cache Expiry) Set Too High or Too Low
TTL means how long a cached page stays before it refreshes. If TTL is too high, old content stays live too long. If TTL is too low, your server has to rebuild pages constantly, which slows down the site and increases server load.
Fix: A common safe range for most business sites is 604800 seconds (7 days) for public pages, with auto-purge on update. News or frequently changing sites need a shorter TTL, like 1 day.
Mistake 4: CSS/JS Minify and Combine Breaking Mobile Rendering
LiteSpeed Cache has options to minify and combine CSS and JS files. This makes pages load faster. But sometimes it breaks how the page looks, especially on mobile. If Google sees a broken layout, it can hurt your mobile usability score, which is a ranking factor.
Fix: Turn on minify and combine one at a time, not all together. After each change, check your site on both desktop and mobile. Use Google Search Console’s URL Inspection tool and click “Test Live URL” to see how Google actually renders your page.
Mistake 5: Lazy Load Breaking Your Main Image (LCP)
Lazy load delays images from loading until the visitor scrolls down. This is good for speed. But if lazy load is applied to your main banner image or featured image, that image loads late. This hurts your Largest Contentful Paint (LCP) score, which is part of Core Web Vitals.
Fix: Exclude your main above-the-fold image from lazy load. LiteSpeed Cache lets you add specific image classes or IDs to an exclude list. Your hero image, logo, and featured image should never be lazy loaded.
Mistake 6: Not Checking Cache for Googlebot Separately
Sometimes a site shows one version to real visitors and a different, older version to Googlebot. This can happen when cache rules are based on user-agent or when a CDN caches a broken version.
Fix: In Google Search Console, always use “Test Live URL” before requesting indexing. This shows the exact HTML Google is reading. Compare it to what you see as a normal visitor. If they do not match, your cache setup has an issue.
This kind of problem is easy to miss on your own. A proper technical SEO audit checks exactly what Google sees versus what your visitors see, so nothing slips through.
Mistake 7: Running LiteSpeed Cache and Another Cache Plugin Together
Some sites install LiteSpeed Cache and also keep an old caching plugin like WP Super Cache or W3 Total Cache active. Two cache plugins running together create conflicts. Pages may load broken CSS, mixed content, or outdated versions.
Fix: Use only one caching plugin. If you install LiteSpeed Cache, deactivate and delete any other cache plugin completely.
Mistake 8: Cloudflare and LiteSpeed Cache Conflict
If you use Cloudflare in front of your site along with LiteSpeed Cache, you now have two caching layers. If they are not set up to work together, purging cache on WordPress does not clear the Cloudflare cache. Your visitors and Google still see old content.
Fix: Install the official LiteSpeed Cache and Cloudflare integration. In LiteSpeed Cache settings, add your Cloudflare API key under the CDN tab. This way, one purge clears both layers at the same time.
If your current setup keeps causing conflicts like this, it may be a sign your hosting is not built for LiteSpeed Cache properly.
Mistake 9: Excluding Important Pages from Cache by Mistake
Sometimes site owners exclude too many URLs from caching, thinking it will “keep things safe.” But this means those pages load slowly every time, since they are never cached. Slow pages hurt both user experience and rankings.
Fix: Only exclude pages that truly need to be dynamic, like a cart page, checkout page, or a page with a live counter. Do not exclude blog posts, service pages, or your homepage.
Quick Checklist
- Cache is off for logged-in users
- Auto-purge is on for post updates and new comments
- TTL is set based on how often content changes
- Minify and combine are tested on mobile and desktop separately
- Main hero image and featured image are excluded from lazy load
- Live Test in Google Search Console matches what real visitors see
- Only one caching plugin is active
- Cloudflare (if used) is connected properly with LiteSpeed Cache
- Cache exclusions are limited to truly dynamic pages only
Related Reading
Mistake 5 above talks about lazy load and LCP. If you want a deeper look at Core Web Vitals with real before and after numbers, read our Core Web Vitals case study.
Final Word
LiteSpeed Cache is a strong tool, but only when set up correctly. A fast site with wrong cache rules can still lose rankings because Google sees broken pages, old content, or slow-loading images. Go through each setting above, test on both desktop and mobile, and always confirm with Google Search Console’s Live Test before you assume everything is working.
Visit our Facebook Page.